
How To Build Any Web Application (Part 1): Your Development Environment
Everyone says you can't code if you are not a developer. I say: this is false, and today anyone can build anything! This is the first part of a 6-posts series on how to build any app with AI agents.

In the past, before AI agents, building a web application was only gated to software engineers and developers who knew how to write code. My hot take is that this time is over, and now anyone can build a web application. In fact, I think the software engineers and developers understand that software is cheap nowadays and many of them stopped trying to build a SaaS, leaving this to the more motivated, new group of developers, who won’t know how to write code. Those, with a burning desire to live up to a dream they had, but one they never got the time or energy to explore. Good for them, coding is mostly solved by AI agents, and they can now do anything they dreamed of a few years ago.
In this series, I go over everything you need to know and understand, to build any web application you want. By the end of this post, you’ll be able to build a SaaS, a personal portfolio, an agency, a web game, or any other “website” you ever thought of building.
The series is structured in the following way:
Setting up your development/agents environment (this post)
Define the project: Web development fundamentals
Building the landing page: Frontend fundamentals
Building the app functionality (with Neon): Backend fundamentals
Add payments (with Stripe): More backend
Deploy our application (with Vercel): Infrastructure fundamentals
TIP: have a web session of Claude or ChatGPT alongside this post and chat with it, if you are unsure of any of its contents.
Program
Operating Systems & Package managers:
Mac, Linux; Windows
homebrew, npm, apt/yum/pacman
IDEs & Terminal Emulators:
Visual Studio Code
Kitty, Ghostty
The Terminal
Shells, zsh, ohmyzsh, tmux
Basic commands (cd, ls; cp, mv; cat, grep)
Arguments, Flags & Operators
AI Agents
Claude Code vs Codex vs Cursor
Operating Systems & Package Managers
The first, and most important thing nowadays, is to make your environment easy to work with. Easy to access. To have all the tools you need, to make your agents as capable as you can. This all starts with the operating system. I think MacOS & Linux are the best options for agentic coding (or any type of software engineering), simply because their terminals are UNIX-like, and using the terminal on those operating systems is as native as it can be. You can still code on Windows, but you (and your agent) will be hitting roadblocks every now and then.
If you are on Windows, here is a short video on how to dual-boot a Linux installation alongside your windows: [Youtube]
The one other thing that makes MacOS & Linux superior, are their package managers. A package manager is a piece of software that allows you to install other pieces of software. On MacOS, the most famous one is called Homebrew, and on Linux, depending on the distribution (type of Linux installation) you use, it would most likely be apt (or yum, or pacman). Package managers will be an essential tool you and your agents will use. Another package manager you’re going to be seeing very often when doing web development, is called npm — which translates to “Node Package Manager”.
IDEs & Terminal Emulators
“To write code, you need an IDE (Integrated Development Environment).” Or at least this is what software engineers would tell you. I think you need a text editor. The most capable one — Visual Studio Code [download link]. Alongside your text editor, you also need a good terminal emulator. I use Kitty [install instructions], but you can install Ghostty [download link] since it is also quite good, and easier to install.
Another very important part of the development lifecycle in my opinion, is customization. It is important for you to feel like you own your environment, and that it is yours—how you want it to be. You will spend a lot of time here, so make it comfortable. The easiest way to get into customizations, is to pick a color theme. In Visual Studio Code, Tokyo Night [installation link] is a great starting point. Other than that, you can install extensions there, with the following giving the most value, with the fewest “learning” required (i.e. works out the box): HTML CSS Support [installation link], Live Server [installation link], Tailwind CSS IntelliSense [installation link].
And this is everything you need to get started making any web application you can think of — Visual Studio Code and Kitty/Ghostty.
The Terminal: Basics
I will assume you have now installed your text editor and terminal emulator of choice. I will also assume you are on MacOS or Linux. So let’s get you into the terminal.
The terminal is the little black box you see hackers type in, in movies. While it looks complex, it is nothing more than just a way for you to interact with your machine, in a “more native language”. Meaning: every command you type and execute, is an instruction sent to your machine.
Shells: Sh, Bash, Zsh
Every terminal has a shell. The three most common shells you need to know about are Sh, Bash and Zsh. Bash is the one that you’ll most likely be presented by when you first boot your default (non-customized) terminal. I like Zsh. It is important to feel good in your terminal, which as already mentioned, is being achieved by customizing it. I do this with Ohmyzsh. This is how your terminal would look like before and after customization:
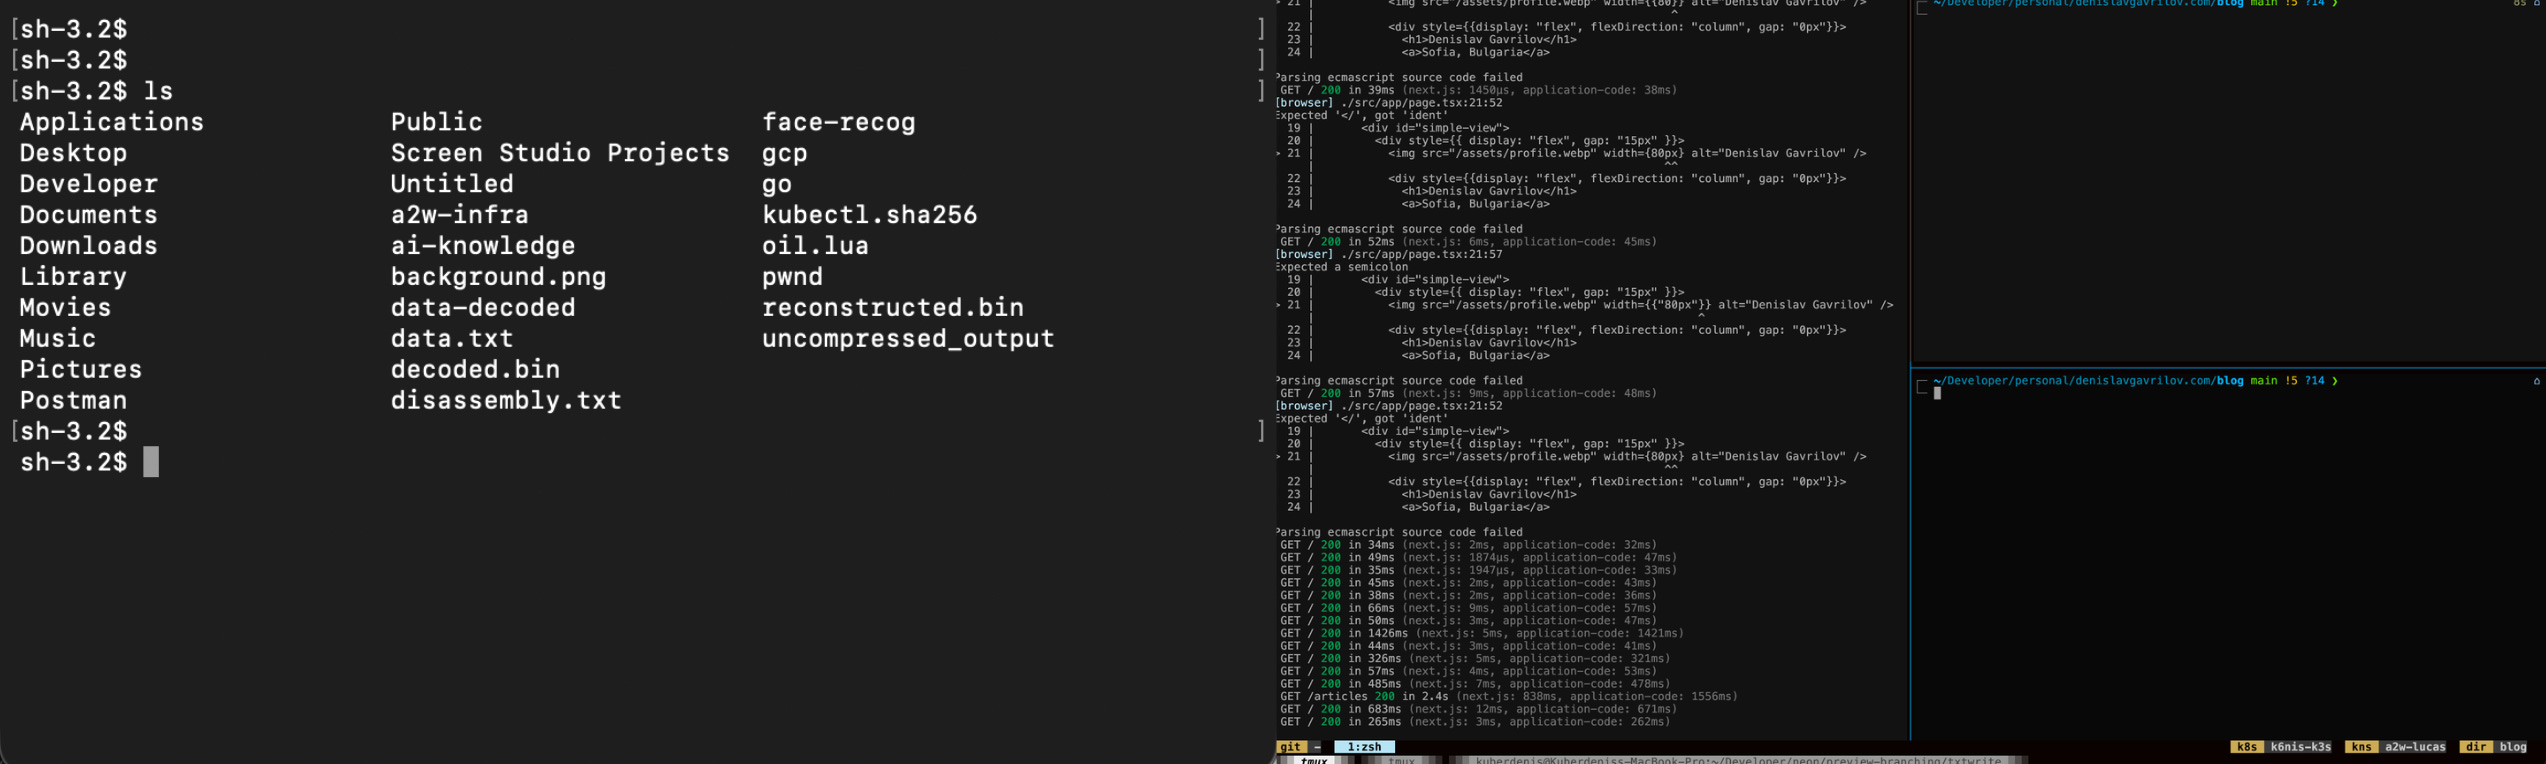
One looks blunt, the other colorful (and capable).
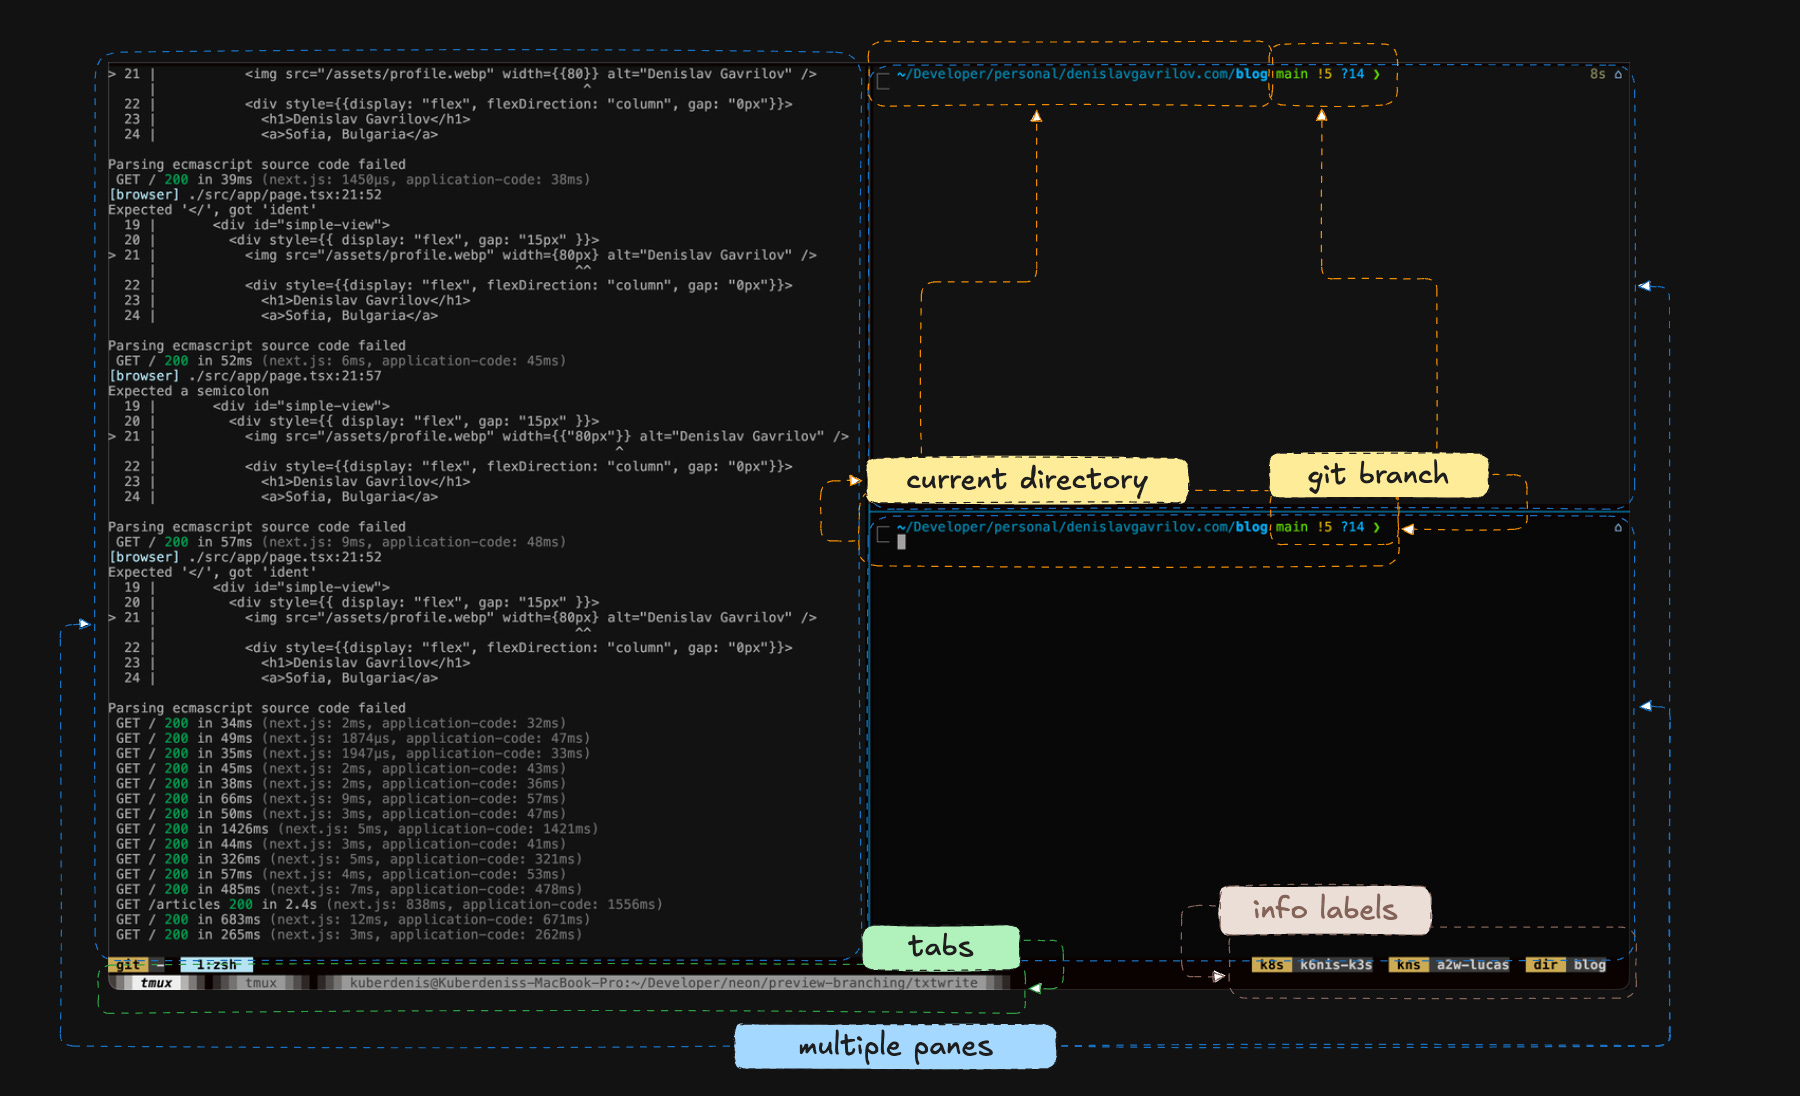
Here is a more in-depth “drawing” of what my terminal consists of:
Here are two blog posts on how to customize your terminal with Zsh/Ohmyzsh
Ubuntu: [dev.to link]
MacOS: [dev.to link]
The last thing you need before you start prompting is Tmux [install guide]. You need Tmux to be able to achieve the split you see in the image above. This is especially important when it comes to having a pane for your AI agent (the left), and a working pane (the right). For Tmux, the one thing you need to know is how to split your panes, which happens with <leader>+% or <leader>+”.
Here are my Tmux & Ohmyzsh config files [link]
TIP: Ask your AI agent to implement them for you
Basic commands
Now that you have customized your terminal (I trust you did!), it is time to start feeling comfortable inside of it. This happens by knowing the 6 basic commands for navigation.
The first two commands you need to know are: cd & ls. cd stands for ‘change directory’, and ls for ‘list’. You change directories with cd, and list the contents of one with ls.
The third and fourth commands you need to know are: cp & mv. cp stands for ‘copy’, and 'mv stands for ‘move’. With cp you copy files and directories, and with mv you move files and directories. ‘mv’ is also used to rename files/directories.
The fifth and sixth commands you need to know are: cat & grep. those are used to read the contents of files, and to find a certain piece of text (string). With cat you print out the entire content of a file, and with grep you only print out the line that matches your text.
Arguments, Flags & Operators
Some commands work by themselves, while others expect arguments. Arguments are “targets” against which the commands run against. The most common one you’ll be using is “cd ..”, which goes a directory down/back. Another common argument you’ll often find yourself typing, is the one expected when executing the ‘mv’ or ‘cp’ commands:
Example 1: mv <file_1> <renamed_file_1>Example 2: cp <file_1> <copy_of_file_1>
Commands also have flags, which make them “expand” in capability. Flags are those “add-ons” you append to commands by the following symbols: - or -- (dash or dash-dash); and sometimes by typing the flag word without actually having a symbol. The one flag that I constantly find myself using is “ls -la” which lists your directory contents with more information available, and is genuinely just easier to read.
Operators are logical “plugs” to your commands that allow you to “chain” commands, or “merge” commands. The two operators you need to know are & (and) and | (pipe). & is used as '&&’ to chain commands together, essentially executing them all one after another. And | is used to “merge” command outputs, where a common example I give here is ‘cat <file> | grep “string”’, which is going to output the entire contents of a file, pipe (this is what | is also called, a pipe) the outputs into grep, and only print the matching text(string). Whereas, if you do ‘cat <file> && grep “string”’, you will get the full output of the file contents, and the lines that match the text(string) you passed on to grep.
Agents: Claude Code, Codex, Cursor
Many people have different opinions about which AI is the best, I say that Anthropic and OpenAI are now on par. Both of their flagship models are good enough, as in… the best, and as such, those are what you should be using. Many also argue that Cursor is great, but I don’t think it is, for the fact its terminal use is not as good enough as the native harnesses of OpenAI and Anthropic, which are Claude Code and Codex.
Agent harness is the environment, allowing an LLM to become an agent, essentially giving it the tools it needs to take actions, rather than only produce text. You can also customize your harness by picking one like OpenCode, or Pi, but I wouldn’t say now is the best time for you to be doing this. Get comfortable with the terminal, Claude Code/Codex, and your development environment, and then try Pi or OpenCode (or whichever other harness).
So: whichever of the both you chose—Claude Code or Codex, you’ll be getting the best quality. I use Claude Code.
Now, how you use them, is directly co-related with the previous section: in your terminal, with Tmux. Open your terminal and create a new directory for your project. The one I will be creating is called ‘pastmonday.com’.
Once you are inside, type tmux and split your panes. On the left pane, start your terminal agent (claude code or codex), and let’s start building our application. I suggest that you use Claude’s --dangerously-skip-permissions flag, or Codex’s --yolo flag, so you don’t have to manually accept every change they do. Needless to say, please don’t ask it to do anything crazy, as you won’t be able to stop it.
Closing & Next Post
This concludes the first part of this 6-posts series. I hope you enjoyed it, and if you are unsure of anything, again—chat with your LLM of choice, or if you prefer human connection, feel free to chat with me on X/Twitter [link], or on my email.
I strongly urge you to take the time to “walk around” your terminal, feel comfortable splitting your panes in Tmux, and make sure your Zsh/Ohmyzsh configuration feels good to you.
The next post that follows is going to be practical, with the focus of it being around the first big/planning prompt you are going to send to your agent, kickstarting the development of your project. I will also combine this with a lot of—but only the most—relevant information you need to know about various web development concepts.
Thank you for reading!
After-post notes
N1: All my posts are written by me.
N2: If this post inspired you to think, feel free to email me and start a discussion!
I love talking technology, and even so if you are, too, actively living in “the arena”.
You can find everything about me on denislavgavrilov.com/about
Thank you for reading and have a good one!